When an image is inserted into an AutoCAD drawing, it comes in with a border. The border is more properly known as a frame.
I first became aware of the image frame when I inserted a company logo image into an AutoCAD drawing. The reason that I noticed the border was because I didn’t want it to appear when I printed the file, but it did!!
If you too have found yourself with an unwanted image frame, then do not fret, because it’s easy to hide. If you type imageframe into the command line, and then hit enter, you will be left with a prompt in the command line.
0 = frame off
1 = frame on
2 = frame on in drawing, but off in plot
I would recommend using option 2.
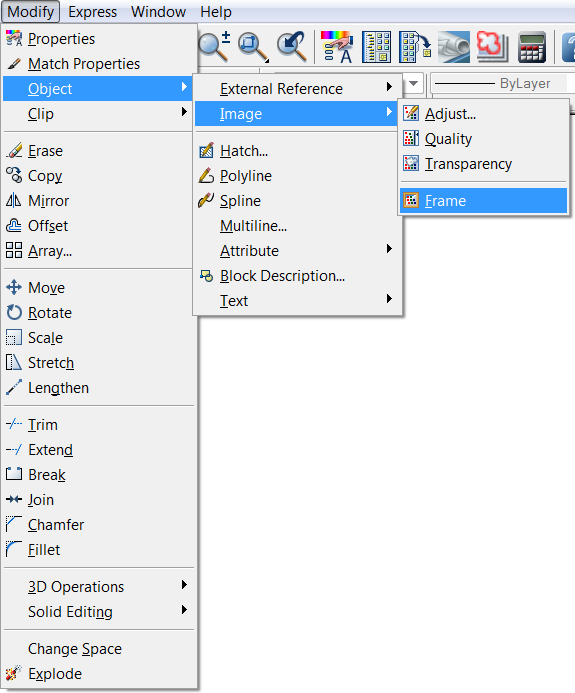
Also, you can get to this command through the drop down menus, as follows: modify > object > image > frame


